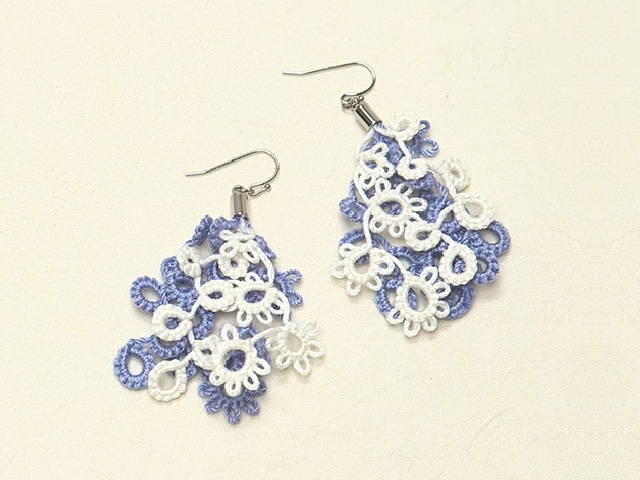
エレガントな手芸として、古くからヨーロッパの貴婦人に愛されてきたタティングレース。使う道具もシャトルに糸だけのシンプルな技法です。編み方を詳しくご紹介するので、「むずかしそう」とためらっていた方もぜひコツをつかんでタティングレースを楽しんでみてくださいね。
◇必要な材料と道具
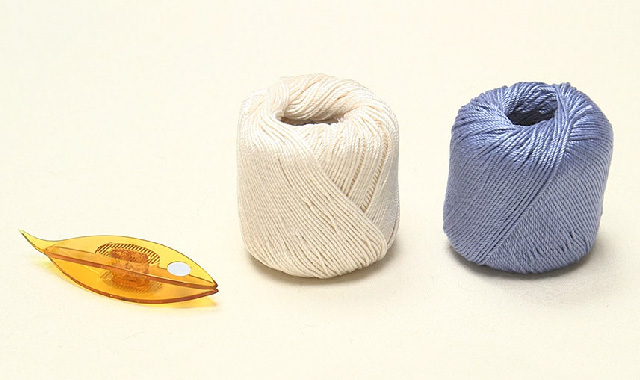
・糸…タティング専用のレース糸 ※今回は2色使います。
・シャトル…タティング専用のシャトル
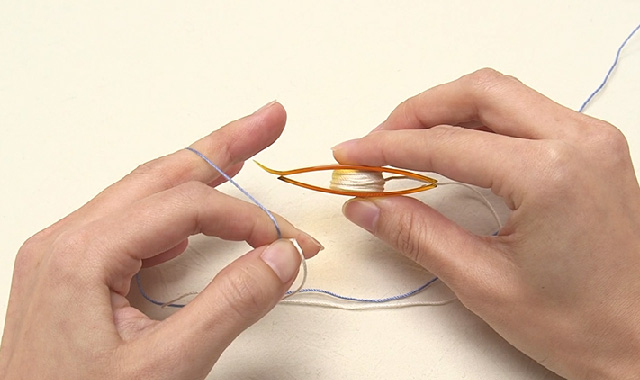
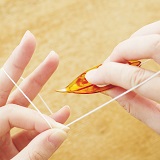
◇糸の通し方
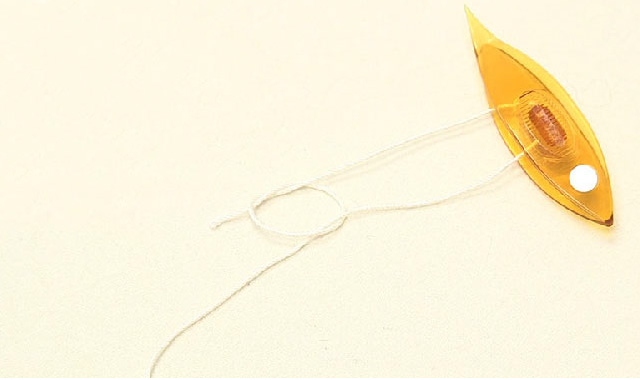
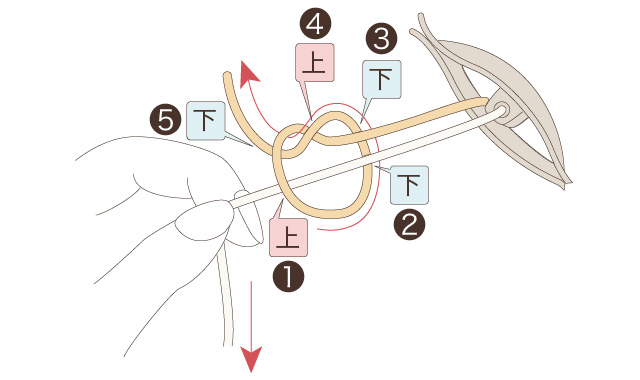
上部の図を参考に、糸をシャトルに通します。

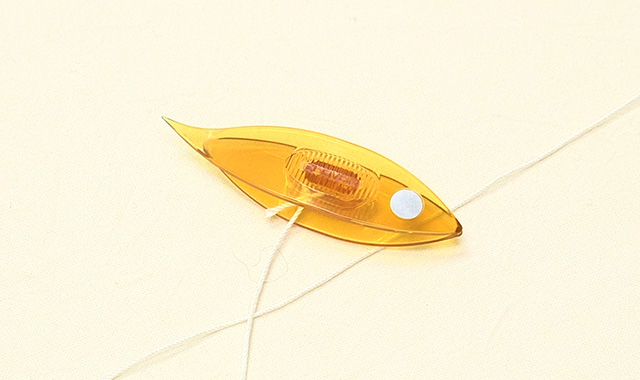
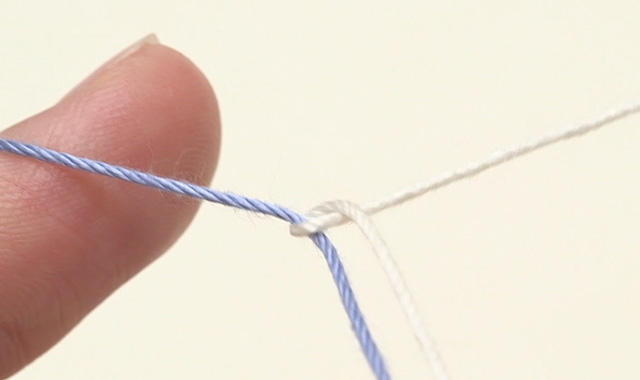
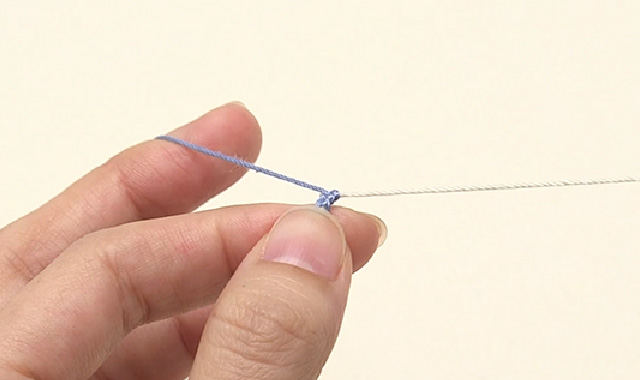
短い方の糸を芯にして、糸を引っ張りぎゅっと結びます。結び目ができたら、どちらか動く方の糸を引っ張りながら、結び目をシャトルの中まで持っていきます。
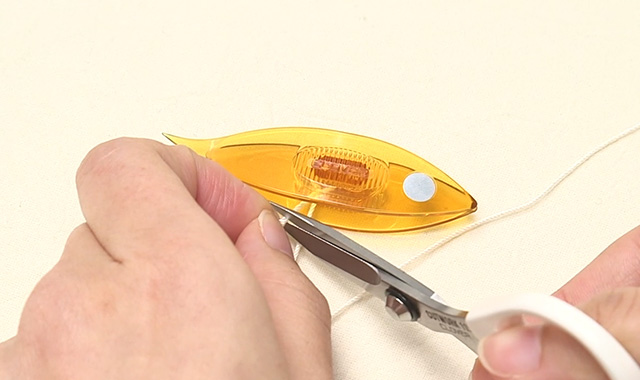
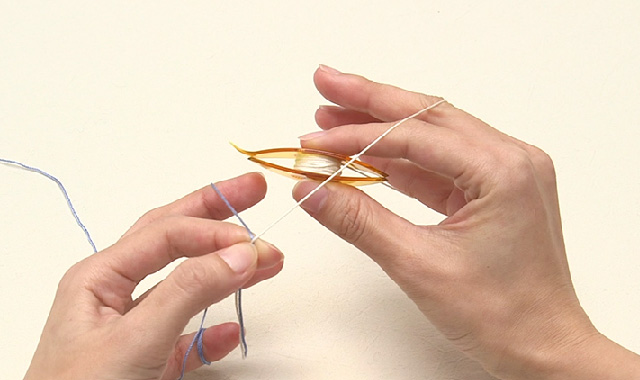
結んだ端の短い方の糸をはさみでカットします。
これで、シャトルに糸を結べました。
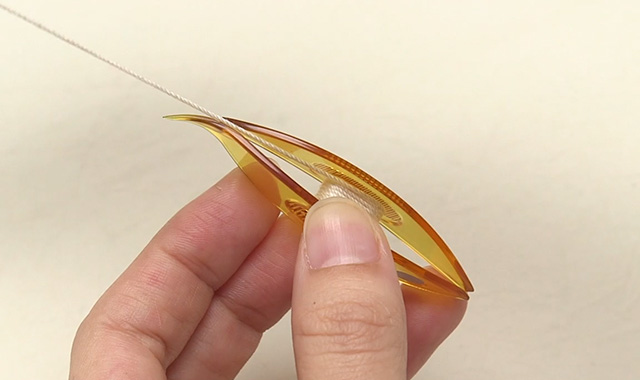
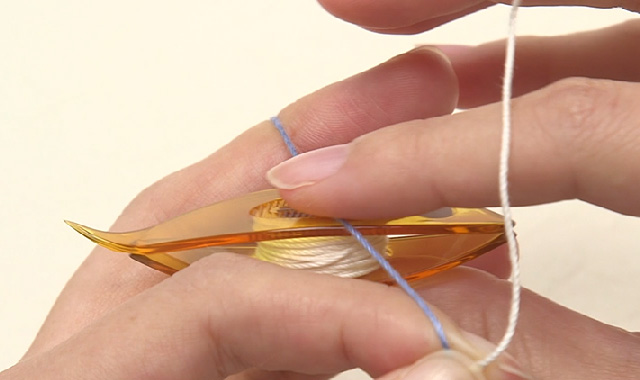
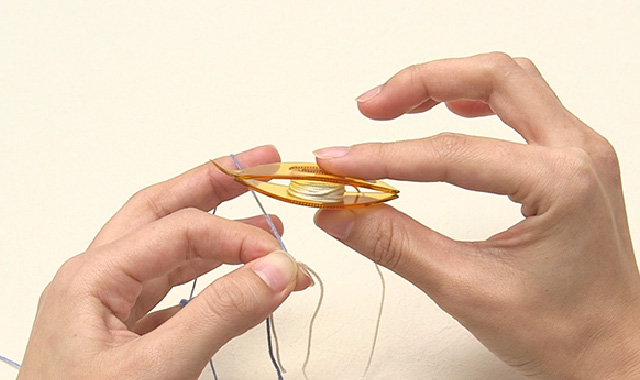
糸をシャトルに巻いていきます。
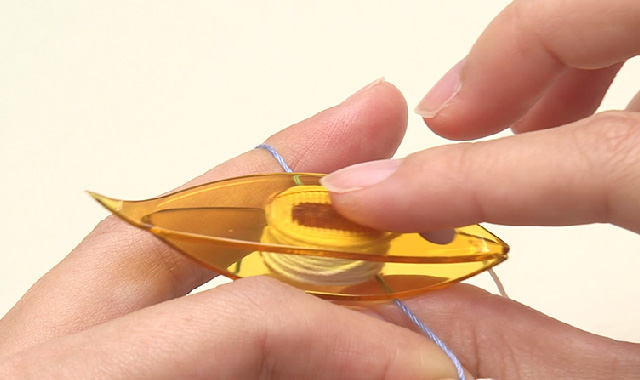
◇シャトルの持ち方(ブリッジの場合)
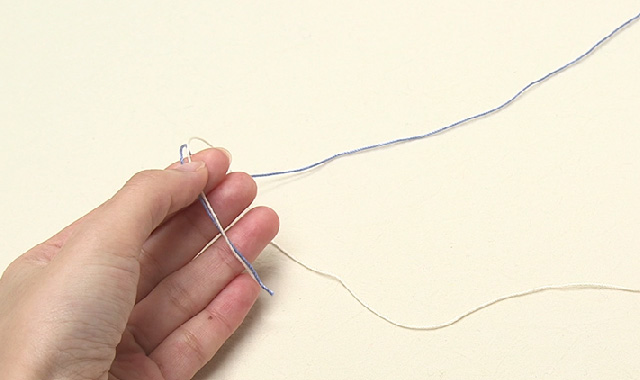
糸は、糸端から約5cmのところを持ちます。
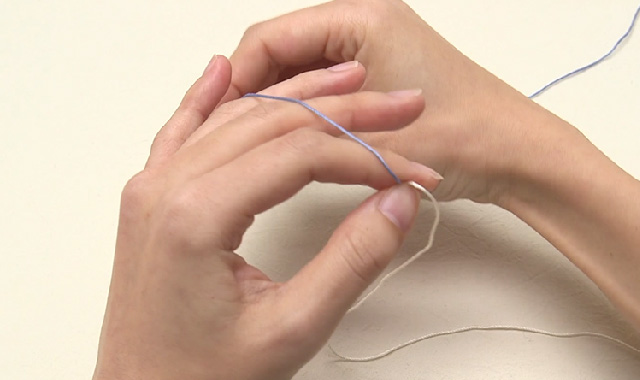
糸玉の糸(青)を左手の中指と薬指の背にまわし、
小指に数回巻きつけて

糸を握りこみます。
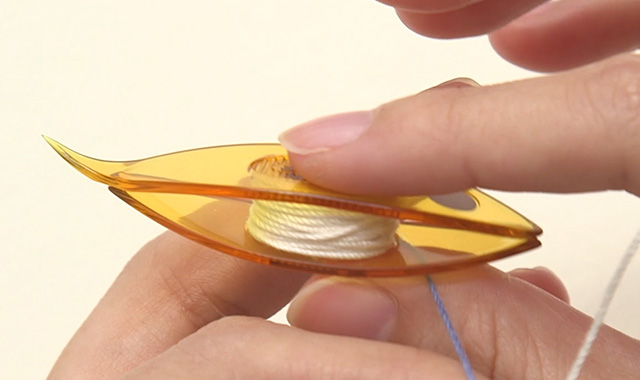
シャトルは右手の親指と人差し指で軽く持ちましょう。
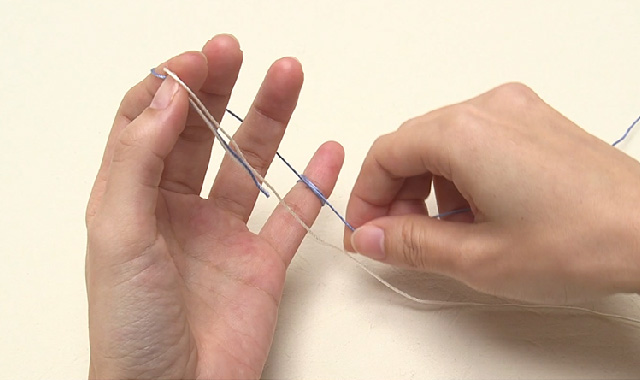
◇表目の作り方
シャトルの糸(白)を手の甲にかけます。
シャトルをまず青い糸の下にくぐらせます。
シャトルは指から離さず、そのまま青い糸の上を通り、白い糸の下にくぐらせます。
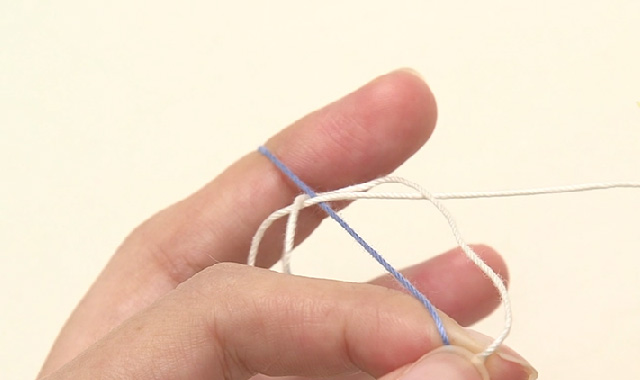
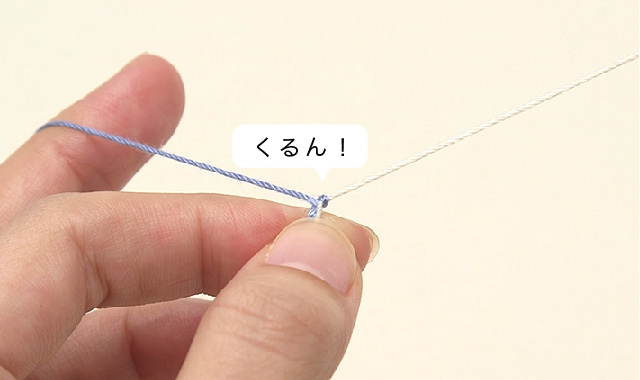
糸を引いたときに「くるん!」と芯の糸が入れかわるのがポイントです。
この「くるん!」の感覚を掴みましょう。
◇裏目の作り方
裏目を作るときは、糸を手の甲にかける必要はありません。
シャトルをまず、青い糸の上を通らせます。
シャトルは指から離さず、そのまま青い糸の下をくぐらせ、白い糸の上を通ります。
ループを引き寄せると、裏目の完成です。
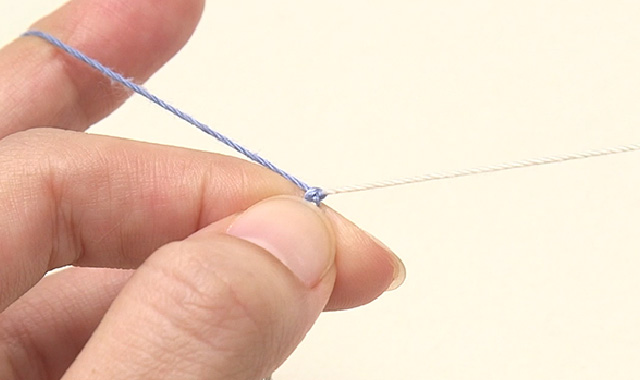
表目1つと、裏目1つで、1目と数えます。
ピコットの作り方
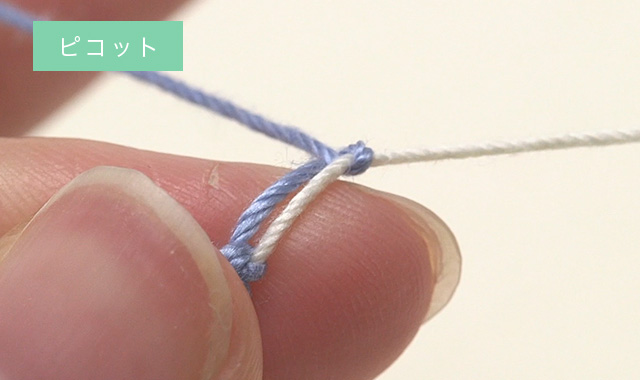
1目作るときに間隔をあけて、次の1目を作り、
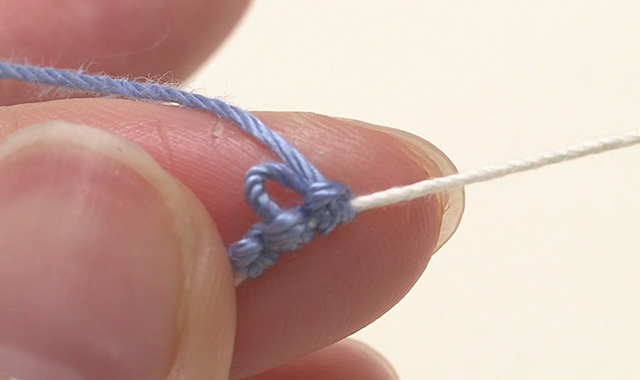
引き寄せると、ピコットができます。
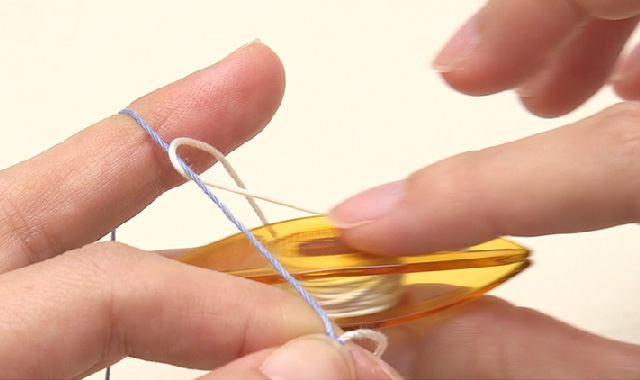
◇基本の持ち方(リングの場合)
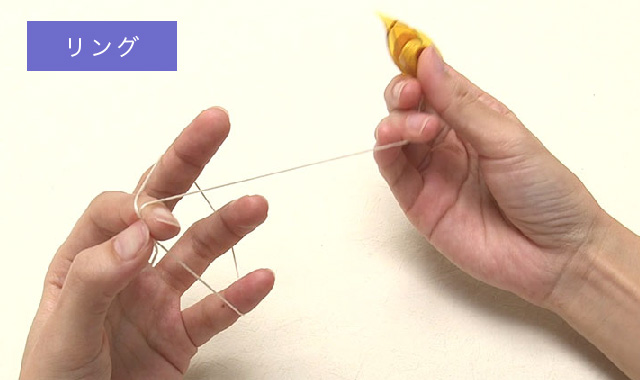
リングを作る場合は、糸を1周回して2本持ち、作っていきます。
途中、左手の輪が小さくなってきたら、下の糸を引いて広げましょう。
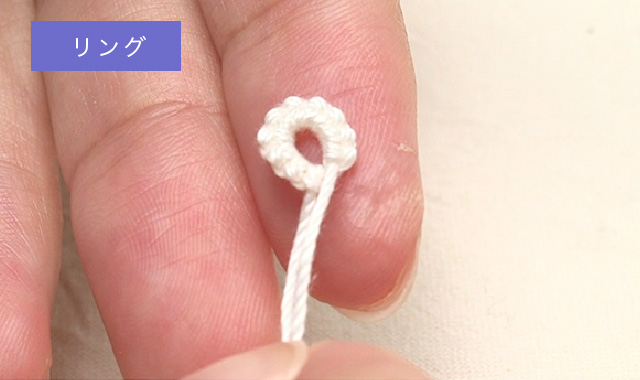
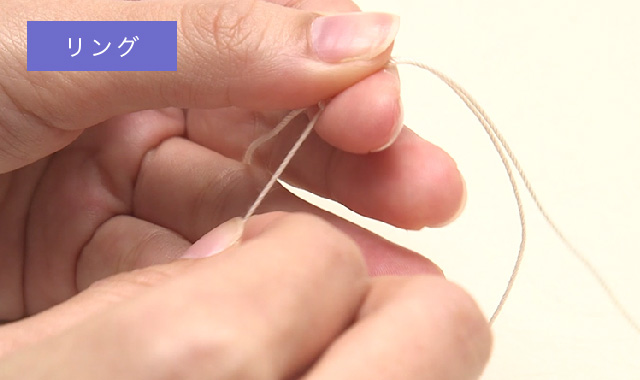
作り終わったらシャトルの糸を引くとリングができます。
たくさん作って練習してみましょう。
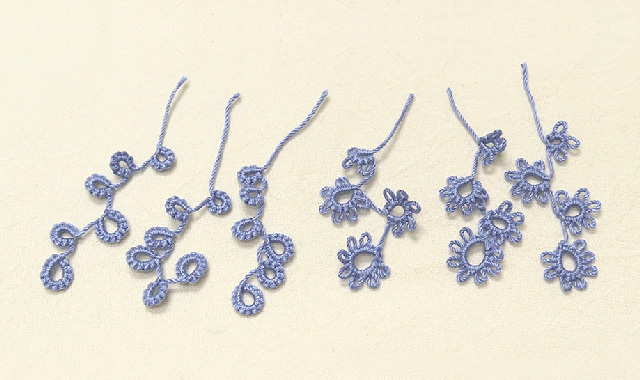
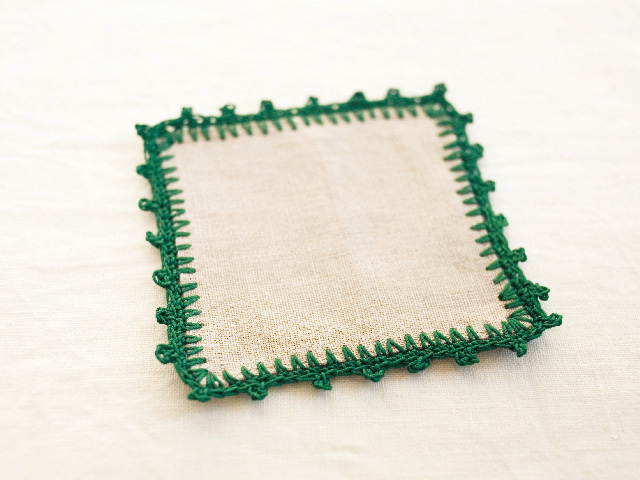
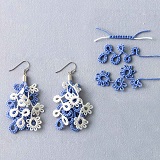
繊細さが魅力の、タティングレース
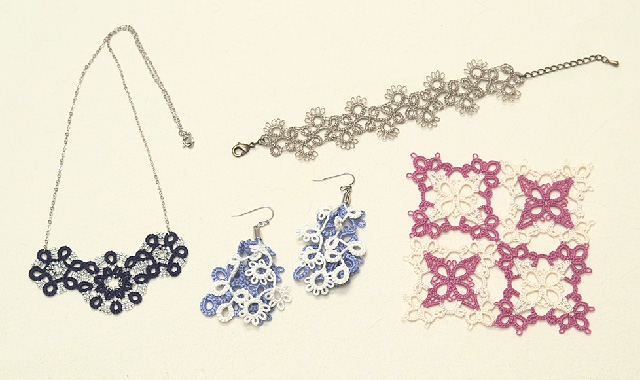
できあがった作品にアクセサリー金具を付けることで、ネックレスやピアスなど繊細なアクセサリーにアレンジすることもできます。洋服の襟にあしらってもいいですね。自分なりのアレンジで、どんどん作品の幅を広げていってくださいね。
クチュリエブログでは、さまざまな手づくりのコツやたくさんのお役立ち情報を掲載しています。手づくりキットを販売しているクチュリエショップや、公式SNSアカウントもお見逃しなく!
本記事で紹介した商品はこちら

シャトルを優雅にあやつる日をめざして タティングレース ステップアップレッスンの会
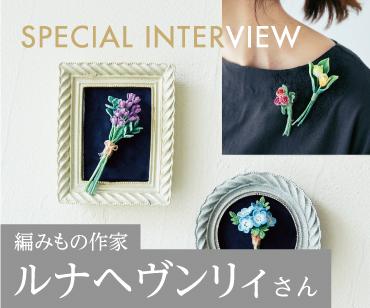
エレガントな手芸として、古くからヨーロッパの貴婦人に愛されてきたタティングレースを、初歩の初歩からマスターできるレッスンキット。デザイン・監修は、タティングレース作家のsumieさん。シャトルの使い方からスタートして、基本の編み方、糸の違いやビーズを使ったバリエーションなど、段階を追って着実に学べます。今まで「むずかしそう」とためらっていた方もぜひトライして!
はじめてみよう! タティングレース専用シャトルセット
タティングレースを始めるなら、キットと一緒にこちらの専用シャトルをどうぞ。練習用レース糸付きです。まずは糸をシャトルに巻いて、扱い方に慣れましょう。初めてでも扱いやすい、専用シャトルです。
SHARE


関連記事

最近読んだ記事

手芸(ハンドメイド)したくなったら、
クチュリエショップへ


ショッピング

おすすめコンテンツ
手芸・手づくりキット、ハンドメイド雑貨のお買い物はこちら
お買い物
編み物
毎日編みたい 年中編みたい編み物
お買い物
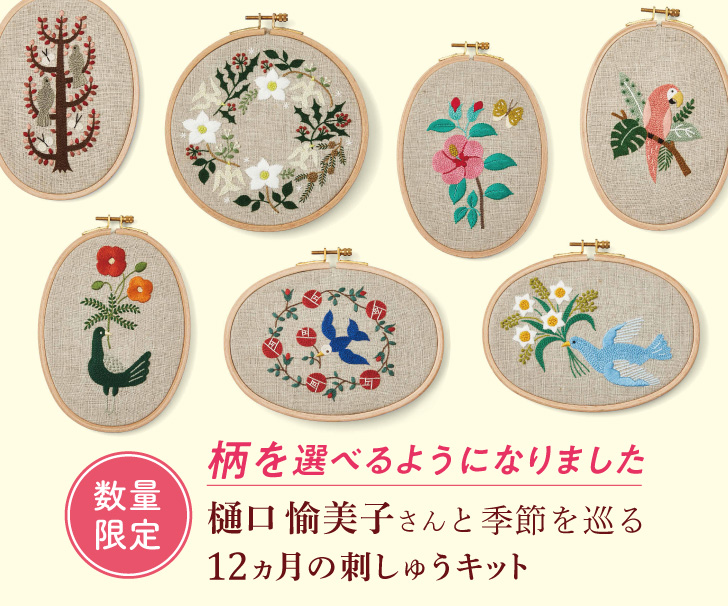
刺しゅう
刺したい刺繍(刺しゅう)がきっとある!

お買い物
刺し子
伝統模様からキャラクターまで人気の刺し子

お買い物
裁縫・ソーイング
裁縫・ソーイングのお悩みやコツが集結

お買い物
アクセサリー
ハンドメイドの手作りアクセサリー
お買い物
クラフト
クラフト 針糸使わないハンドクラフト

お買い物
ミニチュア
小さい かわいい 心ときめくミニチュア

お買い物
初心者キット
できるようになる!人気の初心者キット

お買い物
クチュリエ ショップサイト

お買い物
セール・キャンペーン
お買い物
最新カタログ無料プレゼント!

お買い物