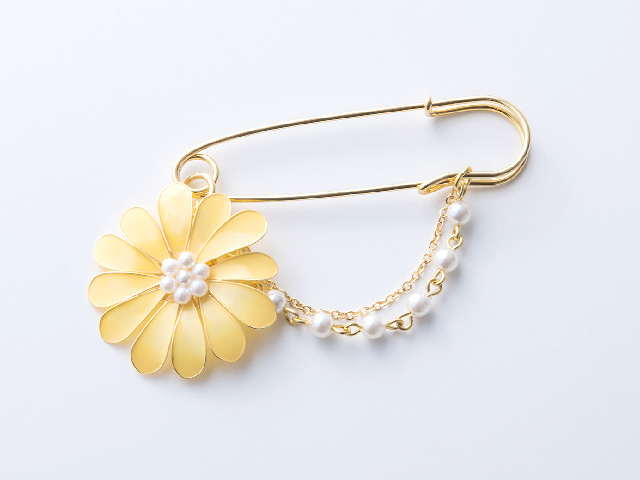
ワイヤーにマニキュアを塗るだけできれいな花びらができる、マニキュアフラワー。トップコートを塗ることで、よりツヤが出てクオリティもぐっと上がります。
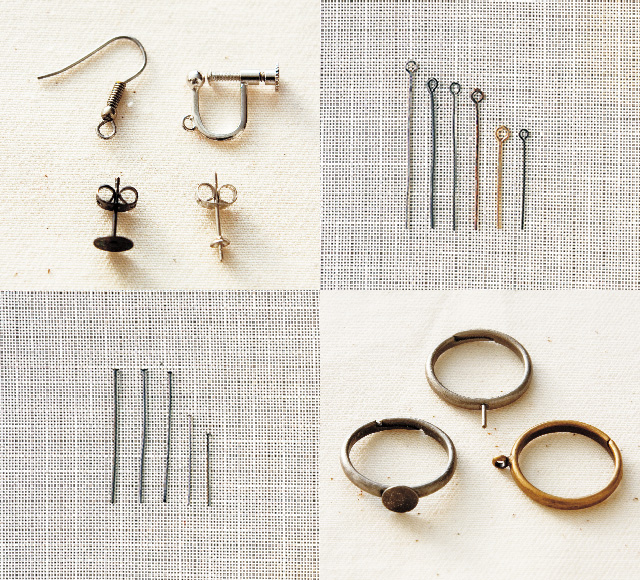
◇必要な材料と道具
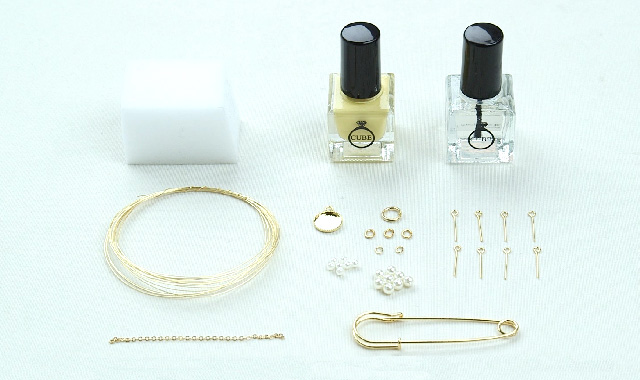
・マニキュア
・ワイヤー
・メラミンスポンジ
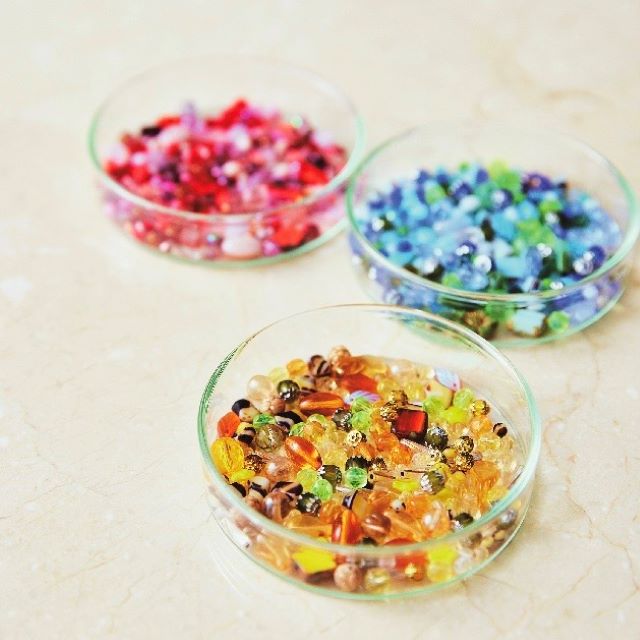
・ビーズ、アクセサリー金具など
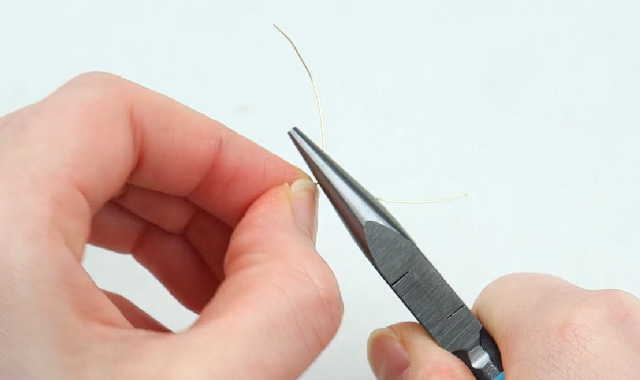
◇ワイヤーを曲げて花びらを作ります
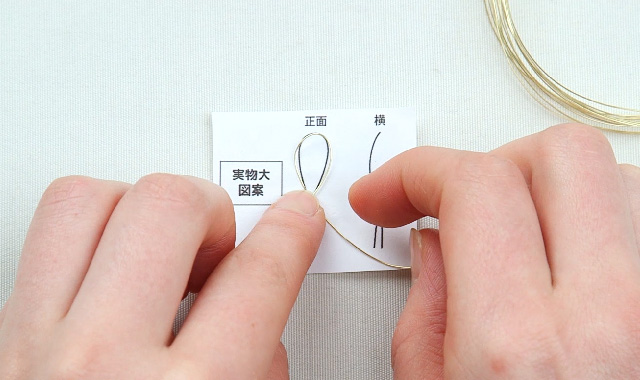
ワイヤーを図案に合わせ、花びらを作ります。
POINT1

ワイヤーの中にペンをさし込むと花びらの形が整います。

形が決まったら、ねじって花びらの輪郭を作ります。
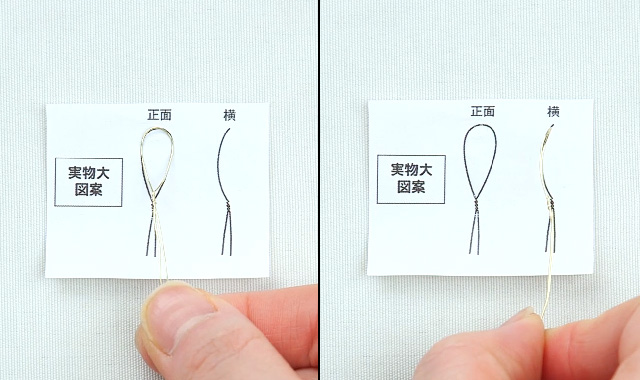
図案に合わせて、形を確認しましょう。
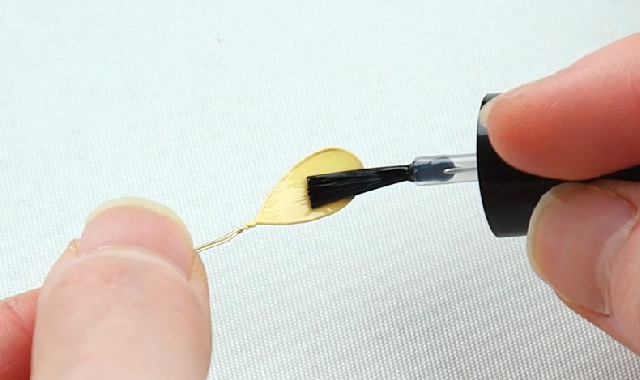
◇ワイヤーにマニキュアを塗ります
マニキュアを均等に塗れると、よりきれいに仕上がります。
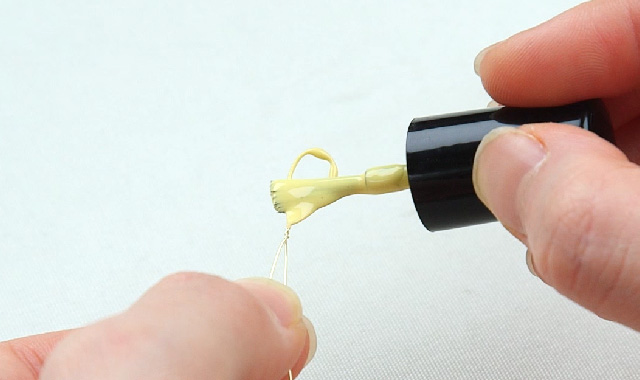
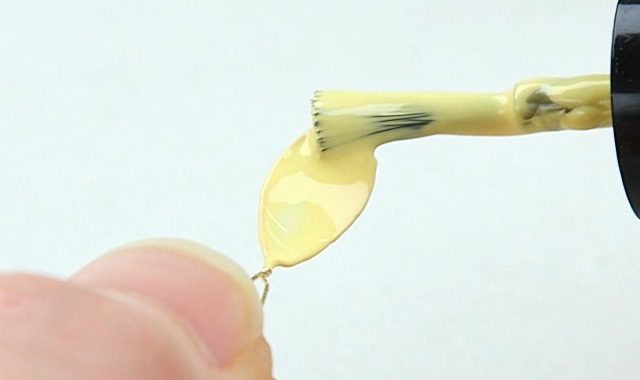
マニキュアをたっぷりつけて、膜が張るように塗ります。
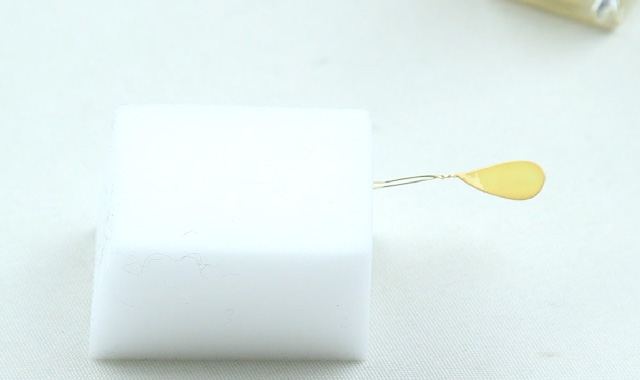
マニキュアを均等にし、メラミンスポンジに挿して乾かします。
乾いたらトップコートを塗ります。
マニキュアの膜が張りづらい時のPOINT
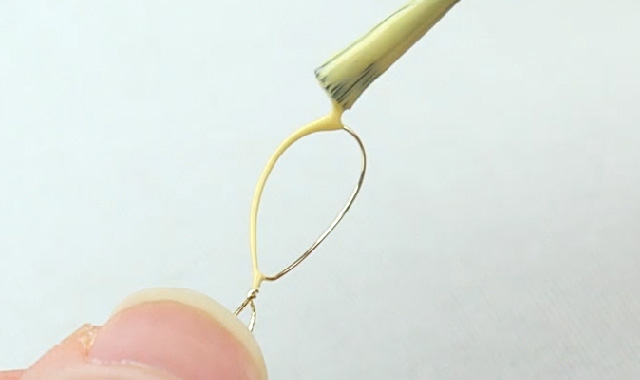
ワイヤーの輪郭にマニキュアを塗ると、膜が張りやすくなります。
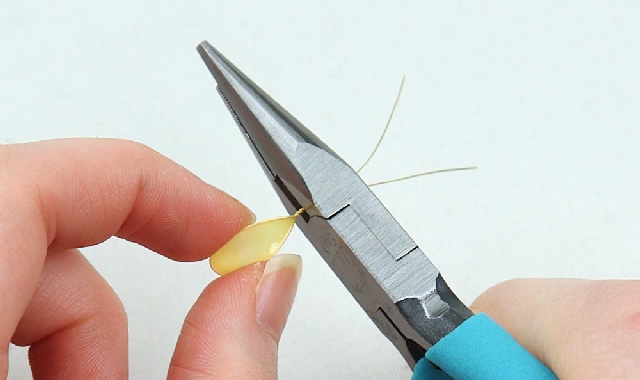
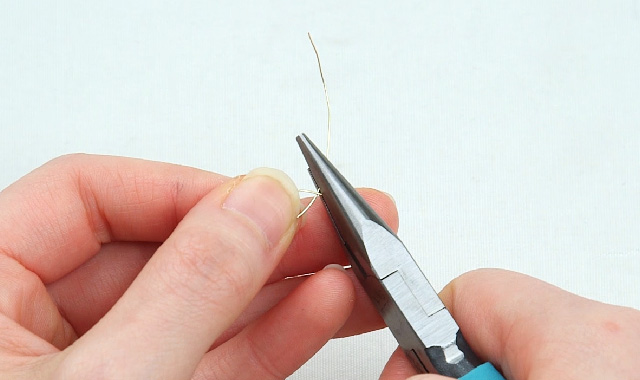
ワイヤーをカットします。
◇組み合わせていきましょう
全体のバランスを見て、花びらを組み合わせてください。
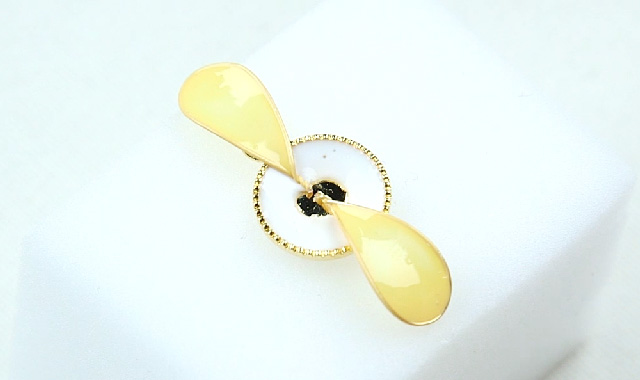
接着剤を塗ったミール皿に花びらを貼っていきます。
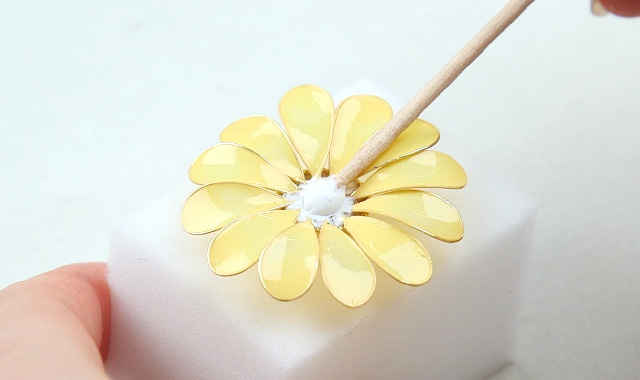
バランスよく貼っていきましょう。
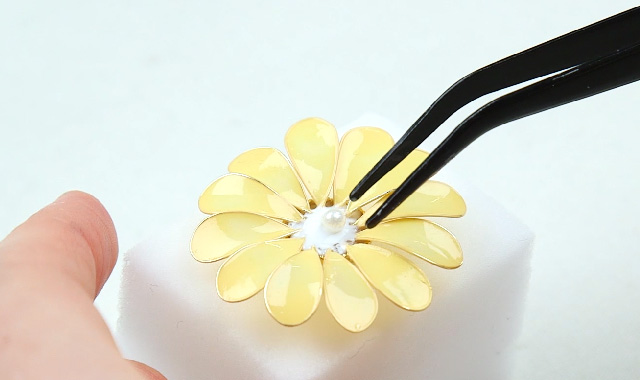
花の中央にパール風ビーズをつけます。
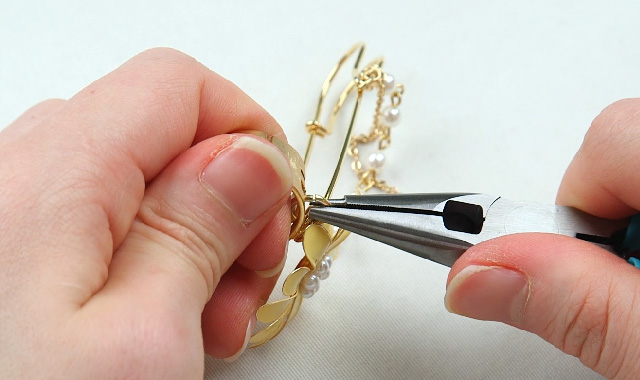
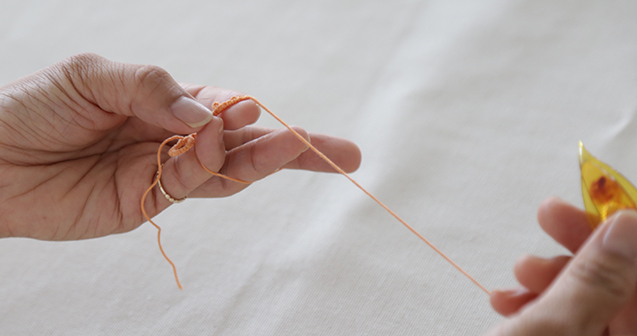
あとはパーツをつないで
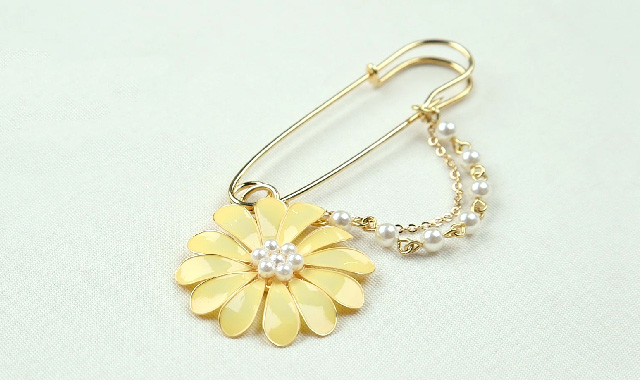
完成です。
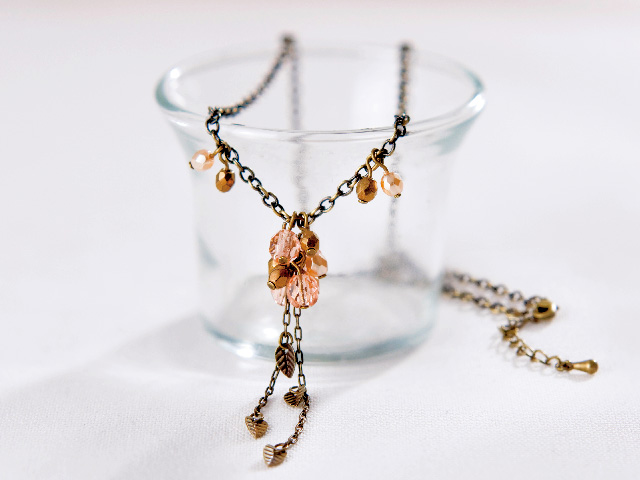
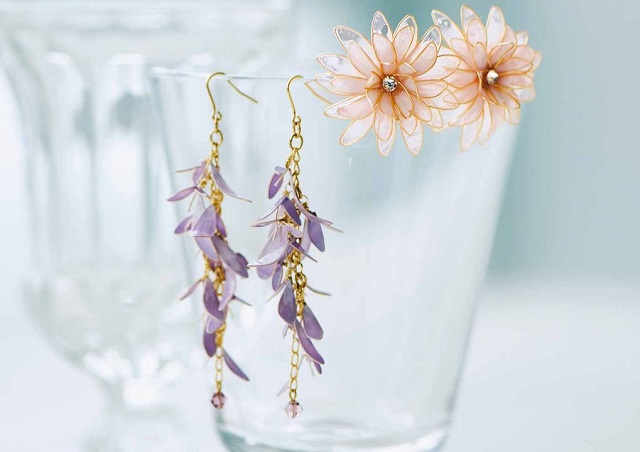
手軽にできる、つやっときれいなマニキュアフラワー
ポイントは、マニキュアを惜しまず、たっぷりつけること!そうすれば、きれいな花びらが完成しますよ。濃淡をつければ、グラデーションのようになり、透け感のあるマニキュアフラワーもできちゃいます!
クチュリエブログでは、さまざまな手づくりのコツやたくさんのお役立ち情報を掲載しています。手づくりキットを販売しているクチュリエショップや、公式SNSアカウントもお見逃しなく!
本記事で紹介した商品はこちら
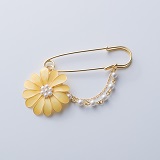
マニキュアで可憐に咲かせる お花のアクセサリーの会
ネイルを楽しむように、マニキュアを塗って花びらを作る新技法。 新感覚のアクセサリーキットが登場しました。ワイヤーで花びらの形を作り、マニキュアを塗ると膜が張って、艶やかな花びらが完成! 初回でお届けするトップコートを塗ることで強度とツヤ感が増します。 練習作品を作ってから本番用にチャレンジするので、はじめてさんでも安心して作ることができますよ。
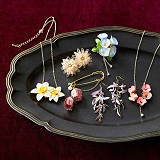
マニキュアで描くグラデーション 繊細な表情にときめく和の花アクセサリーの会
大好評のマニキュアで作る花が、より大人っぽく繊細な美しさを増して登場。塗る楽しさも立体感もグレードアップ! さまざまな形を楽しめる和の花のデザインは、練習してから本番に挑戦するので安心。ベースコートを使ったグラデーシ
SHARE


関連記事
最近読んだ記事

手芸(ハンドメイド)したくなったら、
クチュリエショップへ


ショッピング

おすすめコンテンツ
手芸・手づくりキット、ハンドメイド雑貨のお買い物はこちら
お買い物
編み物
毎日編みたい 年中編みたい編み物
お買い物
刺しゅう
刺したい刺繍(刺しゅう)がきっとある!

お買い物
刺し子
伝統模様からキャラクターまで人気の刺し子
お買い物
裁縫・ソーイング
裁縫・ソーイングのお悩みやコツが集結
お買い物
アクセサリー
ハンドメイドの手作りアクセサリー
お買い物
クラフト
クラフト 針糸使わないハンドクラフト
お買い物
ミニチュア
小さい かわいい 心ときめくミニチュア

お買い物
初心者キット
できるようになる!人気の初心者キット

お買い物
クチュリエ ショップサイト
お買い物
セール・キャンペーン
お買い物
最新カタログ無料プレゼント!
お買い物